How to Install NGINX, PHP and MySQL to your AWS Ubuntu Instance
Previously we have touch about 9 easy steps to setup an AWS Ubuntu Instance. Now we are going to install the LEMP stack (NGINX, PHP and MySQL) to the instance.
We will use the hostname: example.com with the IP address 192.168.1.8 in this tutorial. Please change the hostname and the AP address according your hostname and IP address.
Step 1: Connect to your server instance using SSH
If you have experience in Putty using Windows or Terminal on Mac, you probably already know how to connect to your server instance. If you don’t, learn more on How To Connect to your AWS EC2 Instance using using Windows or Mac
Step 2: Login as root
Make sure you are logged in as root:
sudo -s
Step 3: Install MySQL 5.7
apt-get -y install mysql-server mysql-client
You will be asked to provide a password for the MySQL root user
New password for the MySQL “root” user: KEY IN YOUR ROOT PASSWORD
Repeat password for the MySQL “root” user: KEY IN YOUR ROOT PASSWORD
mysql_secure_installation
You will be asked these questions:
Enter password for user root: <-- ENTER YOUR MYSQL ROOT PASSWORD
VALIDATE PASSWORD PLUGIN can be used to test passwords
and improve security. It checks the strength of password
and allows the users to set only those passwords which are
secure enough. Would you like to setup VALIDATE PASSWORD plugin?
Press y|Y for Yes, any other key for No: <-- Press y if you want this function or press Enter otherwise.
Using existing password for root.
Change the password for root ? ((Press y|Y for Yes, any other key for No) : <-- PRESS ENTER
By default, a MySQL installation has an anonymous user,
allowing anyone to log into MySQL without having to have
a user account created for them. This is intended only for
testing, and to make the installation go a bit smoother.
You should remove them before moving into a production
environment.
Remove anonymous users? (Press y|Y for Yes, any other key for No) : <-- PRESS Y
Success.
Normally, root should only be allowed to connect from
'localhost'. This ensures that someone cannot guess at
the root password from the network.
Disallow root login remotely? (Press y|Y for Yes, any other key for No) : <-- PRESS Y
Success.
By default, MySQL comes with a database named 'test' that
anyone can access. This is also intended only for testing,
and should be removed before moving into a production
environment.
Remove test database and access to it? (Press y|Y for Yes, any other key for No) : <-- PRESS Y
- Dropping test database...
Success.
- Removing privileges on test database...
Success.
Reloading the privilege tables will ensure that all changes
made so far will take effect immediately.
Reload privilege tables now? (Press y|Y for Yes, any other key for No) : <-- PRESS Y
Success.
All done!
You have done installing MySQL to the server
Step 4: Install Nginx
Install:
apt-get -y install nginx
Start nginx:
service nginx start
You should be able to see the default Nginx page by type in your hostname or IP address to the browser: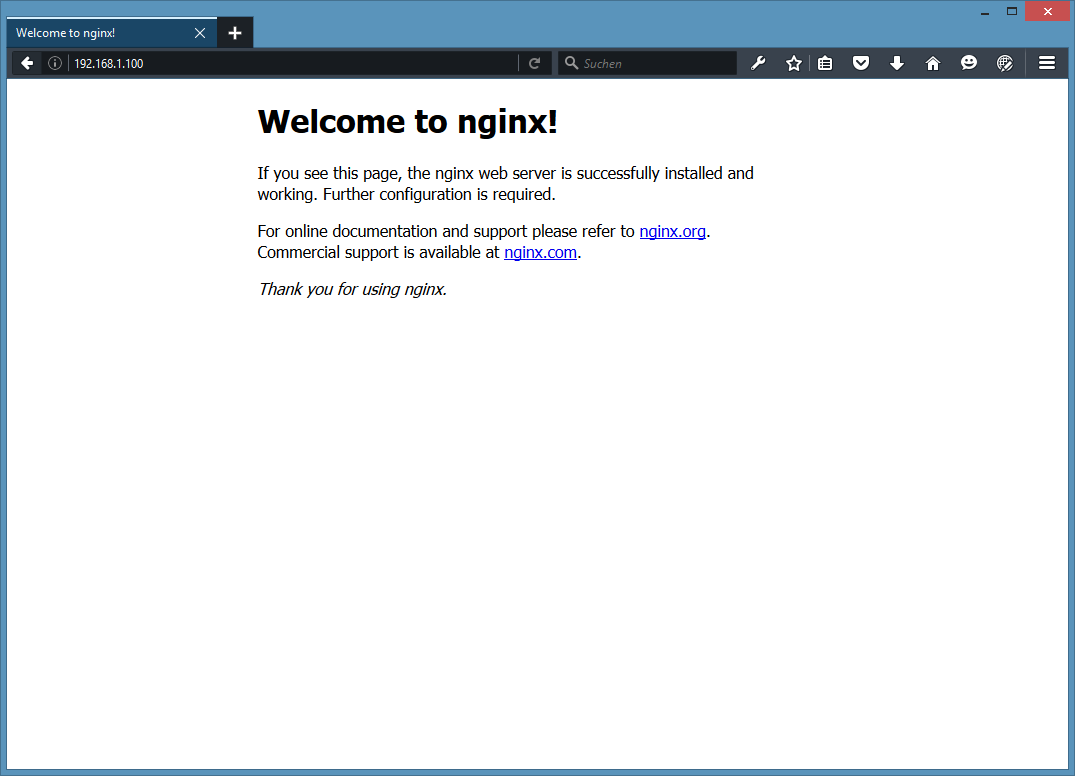
Step 5: Install PHP 7
Install:
apt-get -y install php7.0-fpm
Step 6: Configure Nginx
Open and edit the default vhost configuration file: /etc/nginx/sites-available/default
nano /etc/nginx/sites-available/default
[...]
server {
 listen 80 default_server;
 listen [::]:80 default_server;

 # SSL configuration
 #
 # listen 443 ssl default_server;
 # listen [::]:443 ssl default_server;
 #
 # Note: You should disable gzip for SSL traffic.
 # See: https://bugs.debian.org/773332
 #
 # Read up on ssl_ciphers to ensure a secure configuration.
 # See: https://bugs.debian.org/765782
 #
 # Self signed certs generated by the ssl-cert package
 # Don't use them in a production server!
 #
 # include snippets/snakeoil.conf;

 root /var/www/html;

 # Add index.php to the list if you are using PHP
 index index.html index.php index.htm index.nginx-debian.html;

 server_name _;

 location / {
 # First attempt to serve request as file, then
 # as directory, then fall back to displaying a 404.
 try_files $uri $uri/ =404;
 }

 # pass the PHP scripts to FastCGI server listening on 127.0.0.1:9000
 #
 location ~ \.php$ {
 include snippets/fastcgi-php.conf;

 # With php7.0-cgi alone:
 # fastcgi_pass 127.0.0.1:9000;
 # With php7.0-fpm:
 fastcgi_pass unix:/run/php/php7.0-fpm.sock;
 }

 # deny access to .htaccess files, if Apache's document root
 # concurs with nginx's one
 #
 location ~ /\.ht {
  deny all;
 }
}
[...]
server_name _; this a default catchall vhost. You can also specify a hostname such as www.example.com.
PHP location ~ \.php$ {} stanza. Uncomment it to enable it.
Now save the file and reload nginx:
service nginx reload
Reload PHP-FPM:
service php7.0-fpm reloadDone! Now you have installed Nginx, PHP 7 and MySQL to your server instance.