How to Setup a WordPress Blog in 15 minutes
In this tutorial you are going to learn how to setup a Hosted WordPress in roughly 15 minutes. Please note that some hosting provide a one click solution for WordPress installation, but we will go for the manual way here.
Step 1: Get a domain name
For setting up a hosted WordPress, you need a domain name. You can purchase a $2.95 .com domain name at godaddy.com
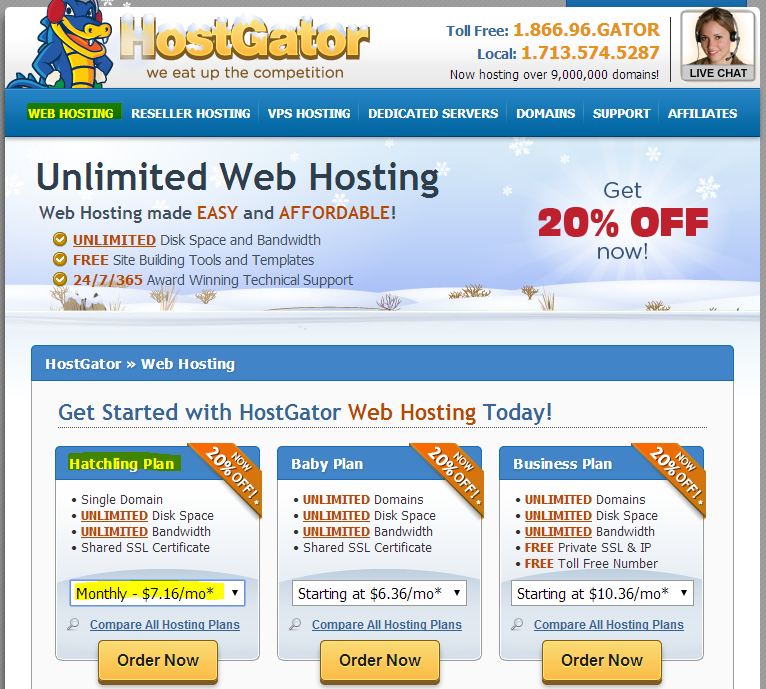
Step 2: Get a hosting
As a beginner, what you need is a very basic shared hosting to get it started. You can get a shared hosting for $7.16 per month at hostgator.com. User this coupon to get a 25% discount: geekyduck25
Step 3: Point your domain name to your hosting
For godaddy:
1. Sign in to your godaddy account
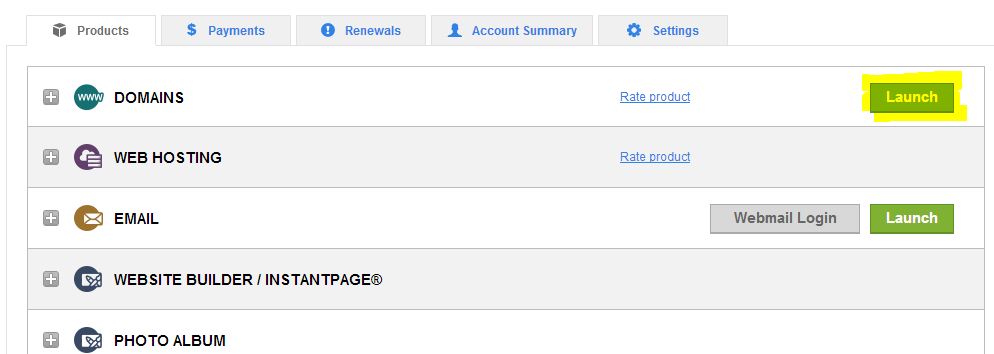
2. Click the “Launch” button at domains section
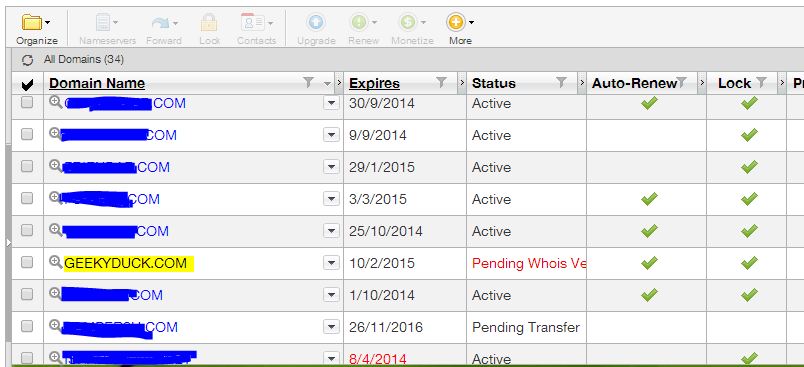
3. Click your domain name in the domains table
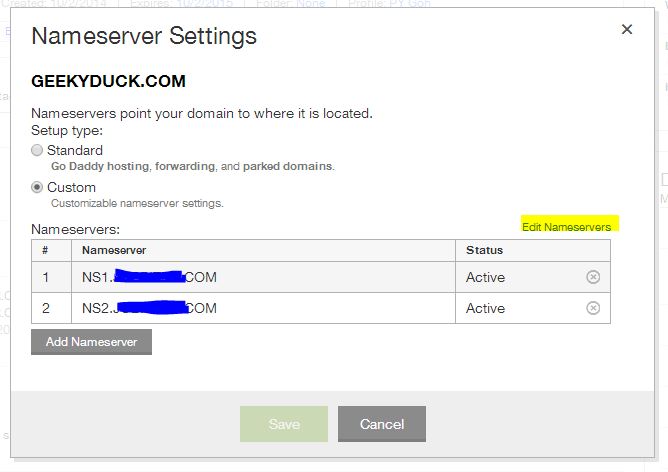
4. Click the “manage” link at the nameservers section
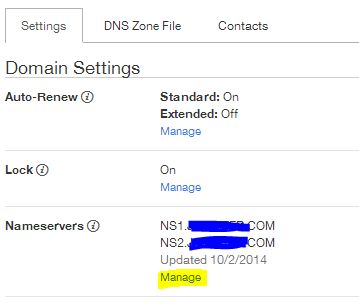
5. Click the “edit nameservers” link in the popup box, insert the nameservers (probably NSXXX.hostgator.com and NSXXX.hostgator.com) and press the “Save” button.
The nameservers would be provided in the email upon purchase a hosting from hostgator.
7. Done, wait for a few minutes up to 48 hours for the name server propagation. (The propagation considered complete when you can access http://YOUR_DOMAIN_NAME.com/cpanel )
Step 4: Create Database
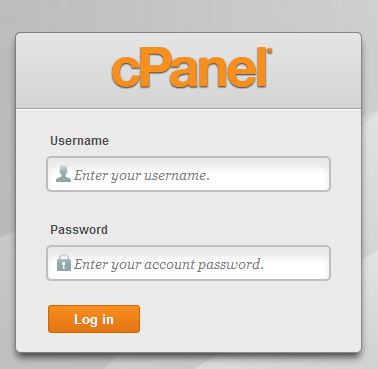
1. Login to http://YOUR_DOMAIN_NAME.com/cpanel when the name server propagation is done.
2. Click the “MYSQL Databases” icon

3. Create new database “mydb” for example. There would be a prefix_ in front of your database name by default.

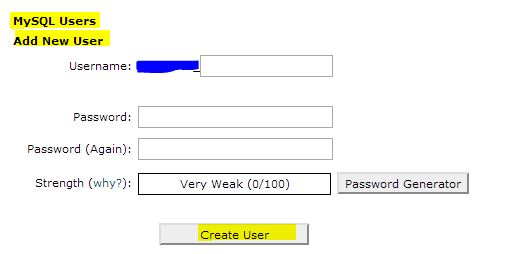
4. Create a new Mysql user. There would be a prefix_ in front of your username as well.
5. Add user to the database, Click the add button to add the user to the database.

6. Tick the “All Privileges” checkbox, and click the “Make Changes” button, Done.

Step 5: Download WordPress
Visit http://wordpress.org and download the latest version of wordpress
Step 6: Upload WordPress to your server
1. Login to http://YOUR_DOMAIN_NAME.com/cpanel when the name server propagation is done.
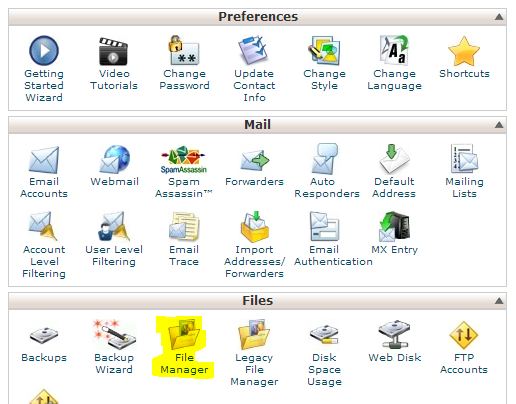
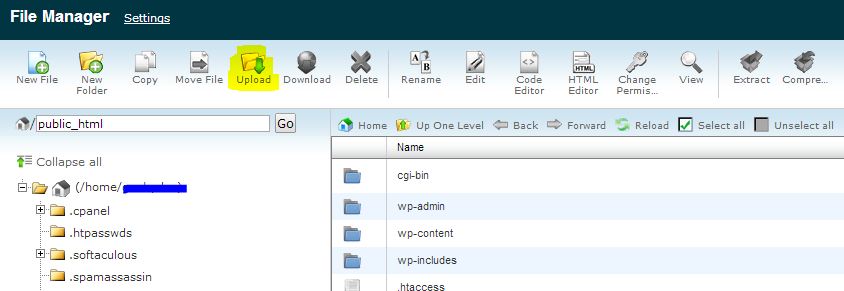
2. Click the “File Manager”.
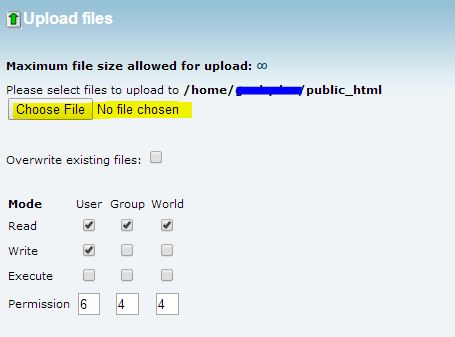
3. Click the “Upload” icon
4. DO NOT upload original wordpress.zip you have downloaded from the wordpress.org as it containing sub folders before the actual files that you need.
Unzip theThe downloaded wordpress.zip in your computer and it would looks like this : wordpress.3.8.x/wordpress/WORDPRESS_FILES
Get rid of the parent folders and re-zip all the WORDPRESS_FILES into a new zip file. Upload the ” new zip file” to the server.
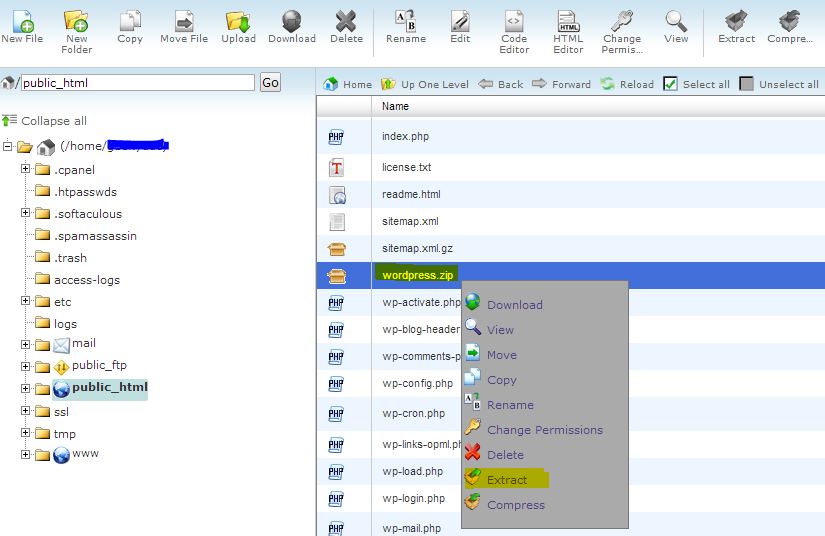
5. When upload completed, back to your file manager, right click the wordpress.zip and click “extract” to unzip the files.
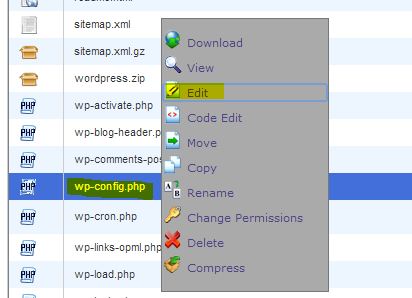
6. Right click and choose “rename” to rename the “wp-config-sample.php” to “wp-config.php”
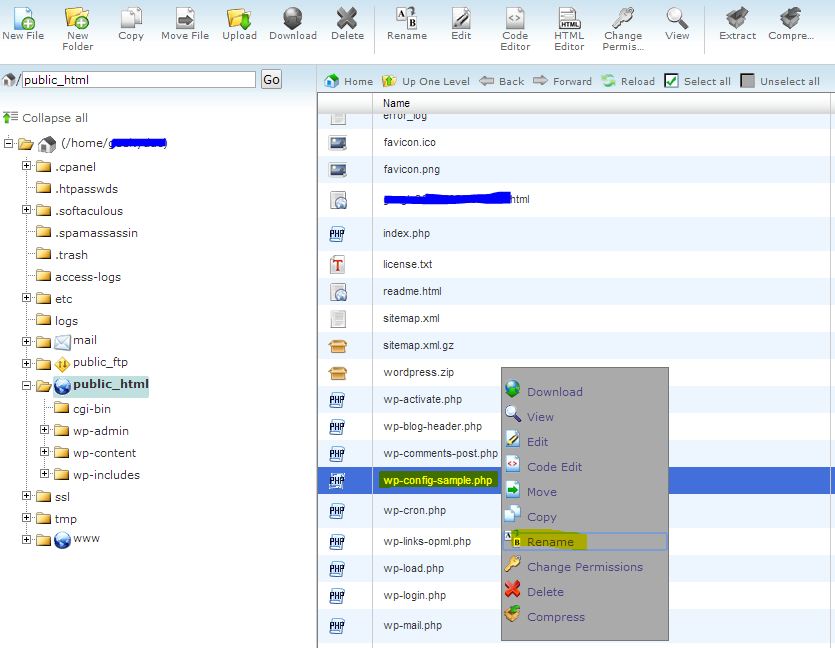
7. Right click and edit the “wp-config.php” after rename
8. Edit the DB_NAME, DB_USER and DB_PASSWORD according to the database setup in the Step 4
DB_NAME = database name (including the prefix)
DB_USER = Mysql username (including the prefix)
DB_PASSWORD = Mysql user password
/** The name of the database for WordPress */
define('DB_NAME', 'database_name_here');

/** MySQL database username */
define('DB_USER', 'username_here');

/** MySQL database password */
define('DB_PASSWORD', 'password_here');
Click the “Save Changes” button on the top right when you are done editing the file.
Step 7: Configure your WordPress
You are almost done. Now you can access and configure your wordpress by go to your_domain_name.com
Related: How to Harden your WordPress to Survive Hacking Attempts
Final thoughts
I hope you’ll find this tutorial useful. Please let me know by drop me a line if you have trouble installing the WordPress. Perhaps this tutorial would inspires and helps more beginners to start blogging.
Cheers