How To Manually Check And Install Updates On iPad
Missed out an Update from Apple? Well, you might have accidentally turned off the auto-update option on your device.
The good thing is, even if you missed it out, you do not have to worry about it because you can download it manually, if your device is supported by the update.
In this blog, we are going to help you out in manually checking and installing updates on your iPad.
4 simple steps to manually check and install updates on your iPad
First step: Open settings

The first thing that you need to do in order to manually check and install updates on your iPad is to open your settings app.
Second step: General

After you open settings, you want to tap General. This will bring you a step closer on how to manually check and install an update on your device.
Third step: Software update

The third thing that you want to do is click on software update, which should be the first option to appear when you click general.
Fourth step: Wait
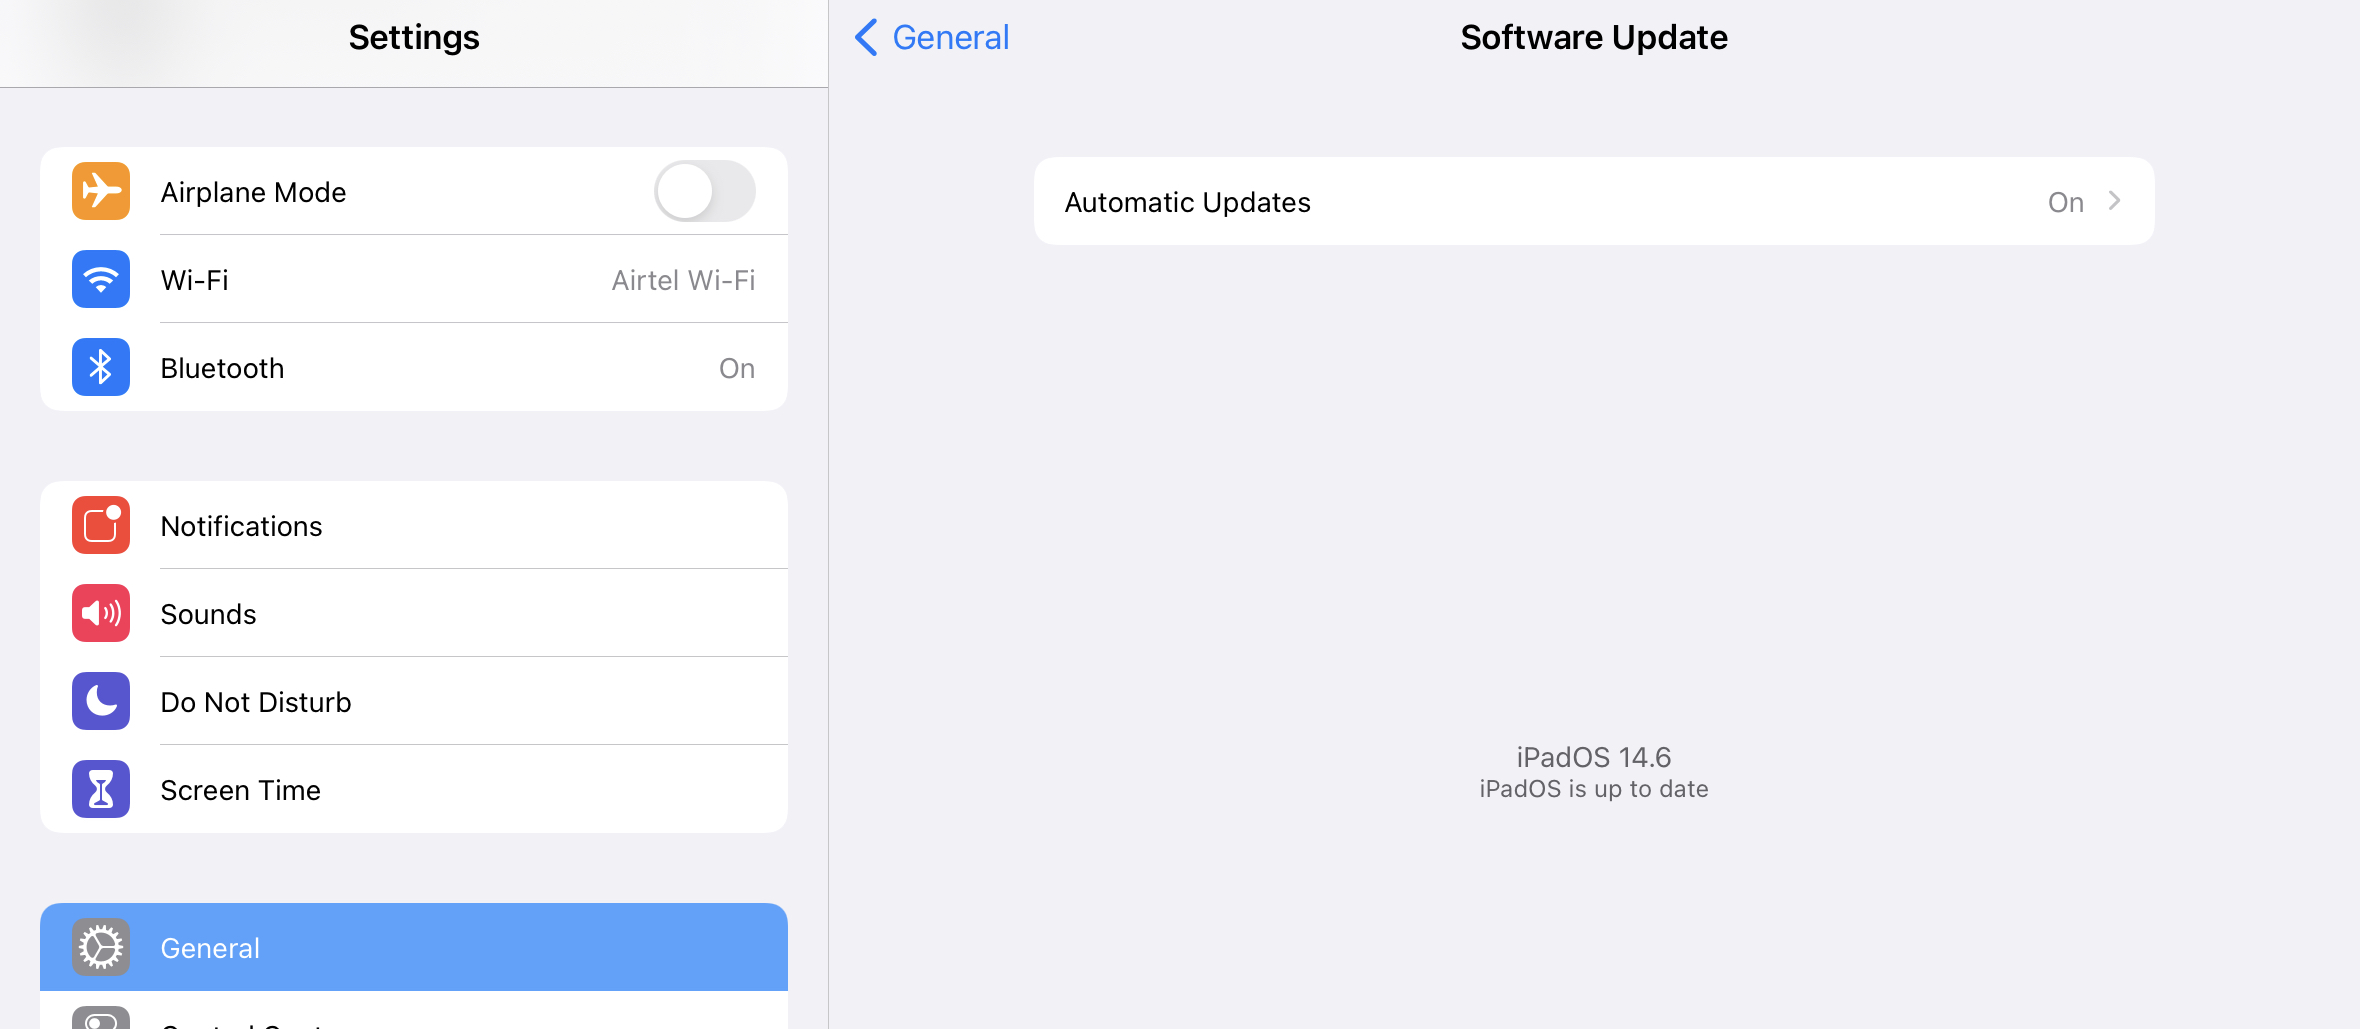
If you missed out an update, a message will show on the screen that a certain update is available to download.
Note: Please keep in mind that it is required to have your device connected to the internet when checking for updates. If you are not connected to the internet, it will not check.
Did we miss out any step above? Let us know what we missed out above by leaving a comment in the comments section below!