How to Install WordPress on Ubuntu Nginx Server
Previously we have learned How to Install NGINX, PHP and MySQL to your AWS Ubuntu Instance. Now we are going to setup WordPress on the server.
You need to connect to your ubuntu server and connect to the MySQL database. Make sure you check out the previous guide as shared above.
Step 1: Connect to your Ubuntu server
You can connect to your Ubuntu server using Putty or Terminal on Mac. If you are not sure how to connect to your server read this guide for more information.
Step 2: Create a new database for WordPress
After connect to your server, log into the MySQL by typing this command:
$ mysql -u root -p
You will be prompted to enter your MySQL root password.
After log into the MySQL console, create a wpDB database by typing this command:
mysql > CREATE DATABASE wpDB DEFAULT CHARACTER SET utf8 COLLATE utf8_unicode_ci;
Create a user wpUSER with password YOUR_DATABASE_PASSWORD and grant all permission to the wpDB database:
mysql > GRANT ALL ON wpDB.* TO 'wpUSER'@'localhost' IDENTIFIED BY 'YOUR_DATABASE_PASSWORD';
Flush the MySQL instance, kind of like refreshing the MySQL instance to recognize the new user privileges on the databases:
mysql > FLUSH PRIVILEGES;
We are done creating a new database for WordPress, exit Mysql:
mysql > EXIT;
Step 3: Configure Nginx to Handle WordPress
Edit the Nginx settings file at /etc/nginx/sites-available/default
$ sudo nano /etc/nginx/sites-available/default
Find the location/ block, adjust the “try_files” to handle the index.php file with the WordPress request arguments.
Type “#” to comment out the existing try_files $uri $uri/ =404;
add a new line try_files $uri $uri/ /index.php$is_args$args; below it:
server {
. . .
location / {
#try_files $uri $uri/ =404;
try_files $uri $uri/ /index.php$is_args$args;
}
. . .
}
When you are done, save and close the file by pressing “Control + X” then press “Y” to save the file.
Everytime you have edited the Nginx configuration, it’s better to test if the Nginx configuration has any error before restart Nginx. Type the following command to test Nginx configuration:
$ sudo nginx -t
If the test was successful without error, restart Nginx:
$ sudo systemctl reload nginx
Install PHP extensions that required by Wordpres:
$ sudo apt-get update
$ sudo apt-get install php-curl php-gd php-mbstring php-mcrypt php-xml php-xmlrpc
Restart PHP when done:
$ sudo systemctl restart php7.0-fpm
Step 4: Download WordPress
Change your directory to /tmp folder by typing:
$ cd /tmp
Download latest WordPress into /tmp directory:
$ curl -O https://wordpress.org/latest.tar.gz
Extract the compressed file (latest.tar.gz):
$ tar xzvf latest.tar.gz
copy the sample configuration file to the actual configuration file that required by WordPress:
$ cp /tmp/wordpress/wp-config-sample.php /tmp/wordpress/wp-config.php
Copy the entire content into your document root.
$ sudo cp -a /tmp/wordpress/. /var/www/html
Step 5: Configure the WordPresss Directory
On Ubuntu, the web user group is known as www-data. We need to configure and assign proper permissions for some folders so that WordPress has the permission to upload articles and images to the server.
$ sudo chown -R www-data:www-data /var/www/html
Give write access to the wp-content directory so that the WordPress can upload or edit themes and plugins:
$ sudo chmod g+w /var/www/html/wp-content
$ sudo chmod -R g+w /var/www/html/wp-content/themes
$ sudo chmod -R g+w /var/www/html/wp-content/plugins
Edit WordPress configuration file:
$ sudo nano /var/www/html/wp-config.php
Change you database credentials:
. . .

define('DB_NAME', 'wpDB');

/** MySQL database username */
define('DB_USER', 'wpUSER');

/** MySQL database password */
define('DB_PASSWORD', 'YOUR_DATABASE_PASSWORD ');

. . .
Save and close the configuration file when you are finished.
Step 6: Complete the WordPress Installation
Open your web browser, go to your server’s domain name or IP address:
http://your_hostname_or_IP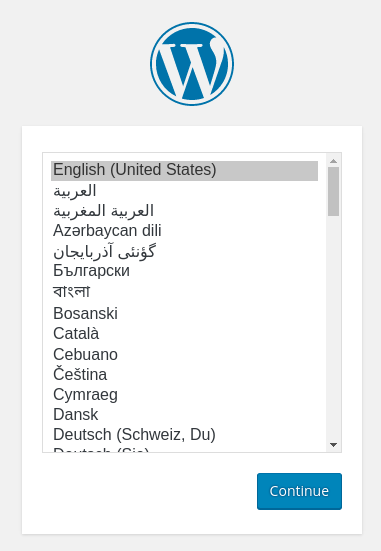
Select a name for your WordPress site and choose a username and password, enter your email address and click “Install WordPress”

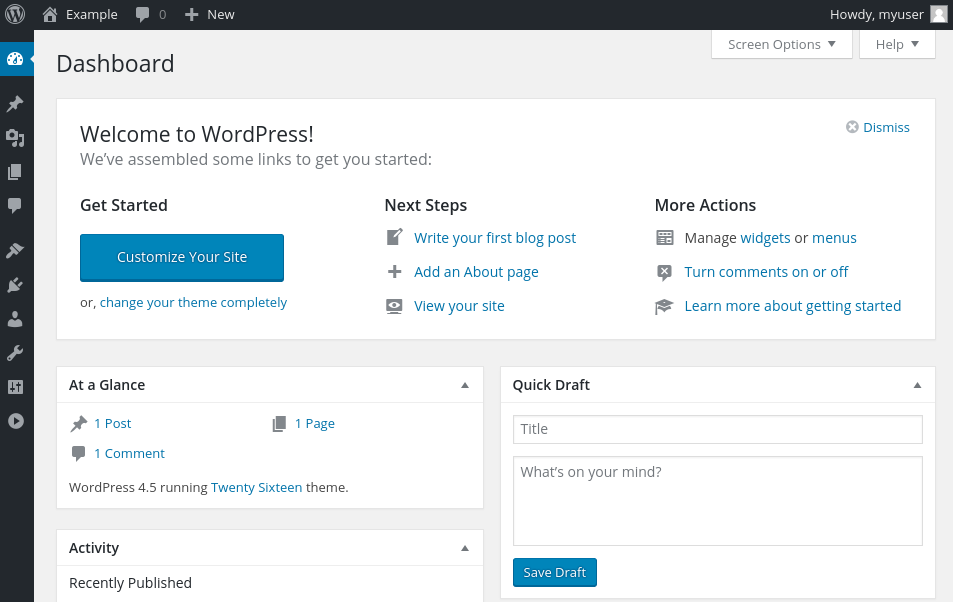
You are done installing WordPress to your Ubuntu server. You can now login to the WordPress and work on the admin dashboard.