Guide to Install Windows Using Boot Camp on your Mac
With the switch from a PowerPC to Intel years ago, now Mac is one more PC for sure. We know that Macs have macOS, but Windows can also be installed alongside a macOS with the help of Apple’s Boot Camp which is built-in. The installation of windows done by boot camp is a dual boot configuration this implies that there will be two operating systems intalled separately. However, you can make use of any one.
Do You Require a Boot Camp?
If you are thinking of installing Windows, do you really require Boot Camp? You will be surprised that it has some drawbacks too.
For using Boot Camp for installing Windows on a Mac, you will have to re-partition the drive and this will take good space on your drive. We know that Mac storage is expensive, so you must think ahead about it. In addition,you will have to reboot your PC every time for Windows, and for switching to macOS. Boot Camp has a benefit that you will be able to run Windows on your hardware directly, making it faster.
You just need to run some Windows applications on the Mac, you can consider a virtual machine such as Parallels with a free trial), VirtualBox or VMware Fusion to run those software. The majority of your time will go in using these virtual machines rather than boot camp. If, you’re not interested in playing Windows games on Mac, then Boot Camp is a good option.
Many people find Parallels as a good option to run Windows on their Mac. Its integration with the macOS is amazingly seamless, and its speed blows away the Virtualbox. For long term, the price is not bad. You can make use of Parallels for loading the partition of Boot Camp like a virtual machine being in macOS, it will give you the best experience of both.
What Windows Version Should be Run?
The version you want to run will entirely depend on the Mac you are using, if you have a recent model it will support only Windows 10, however older ones will go with old window versions. Below is the outline for you and the links having a list of Apple’s supported models.
- Windows 10 supports most Macs of the year 2012 and henceforth.
- Windows 8.1 goes with Macs manufactured during 2010 to 2016, having a few exceptions.
- Windows 7 goes with only Macs of 2014 or earlier, additionally you should have an old Mac for running XP or Windows Vista.
Installing Windows on a Mac, But How?
Want to install a windows version on your Mac? Not a bad idea if you back up the Mac first. Nothing goes wrong but when you are partitioning there could be a chance. So let’s start now.
Mac comes with a Boot Camp Assistant which we have to use, so open it first by using Command+Space, key in Boot Camp and Enter.
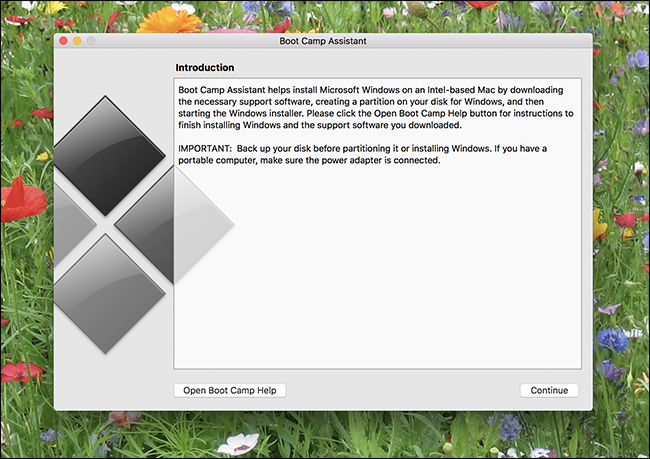
Boot Camp Assistant starts the installer, so you will have to Click on the “Continue” option. Once you continue you will be asked to choose the ISO to use and the space or size of the Windows partition as well.
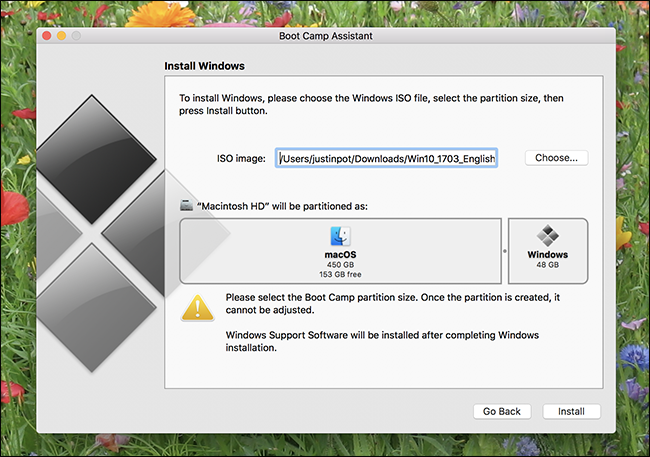
The allocation of the space will depend on the need of your space in the Windows and macOS . For resizing the partitions, you will require a third party application so be very carefull while making the choices at this time.
For Windows 7, chronology changes slightly : Boot Camp guides you to setting the installer USB disk, then it will ask about partitioning.
Once you are ready, choose“Install” so that Boot Camp starts downloading the drivers, named as“Windows support software.”
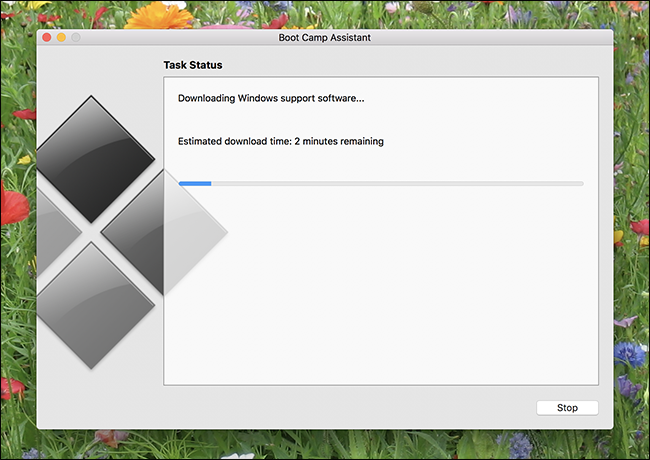
The installer partitions your disk and it will also copy installer to partition. The drivers are also placed so that they run smooth after installation. Mac can be used while doing this task, though things can become a bit slow during the time of partitioning.
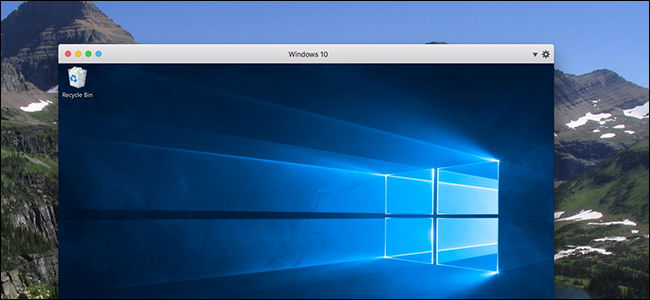
Eventually, Mac reboots and there will be the Windows installer in front of you.
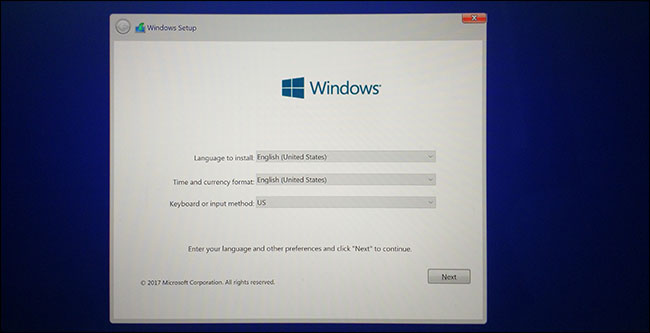
If you are asked you will have to choose the partition named BOOTCAMP—make sure you don’t install to another partition because this way you may remove macOS and lose the data totally. You have the backup, correct? so windows will finish its intalling in a normal way.
Windows asking for Internet can make you worried because you don’t have drivers: just skip those steps till you reach the desktop, where you will see the Boot Camp installer.
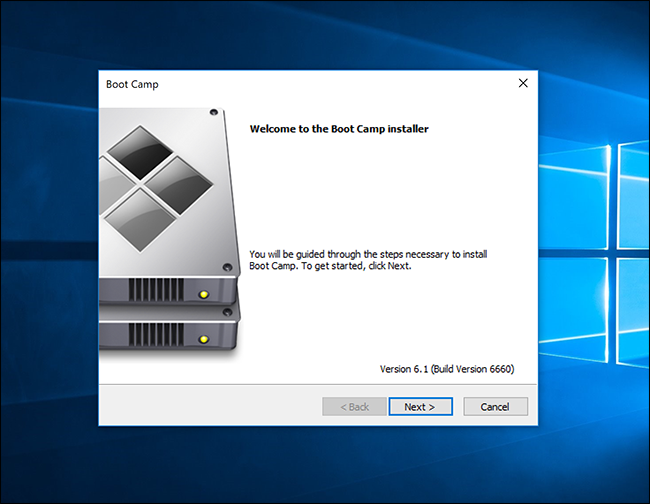
Proceed and set up the drivers, and that’s it!
On Mac How you can Boot Into Windows?
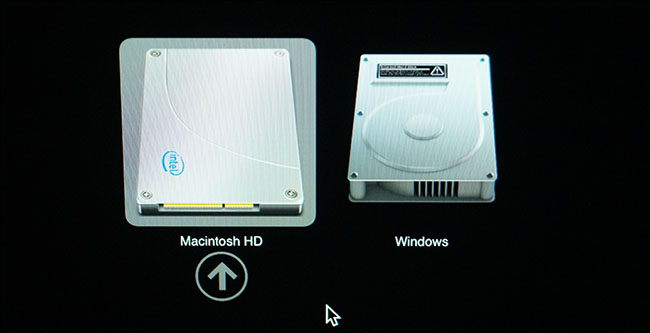
Its a default process that Mac will boot into macOS so for windows first turn off the Mac and turn on holding Option tab. It will ask you which drive you would want to boot your system from.
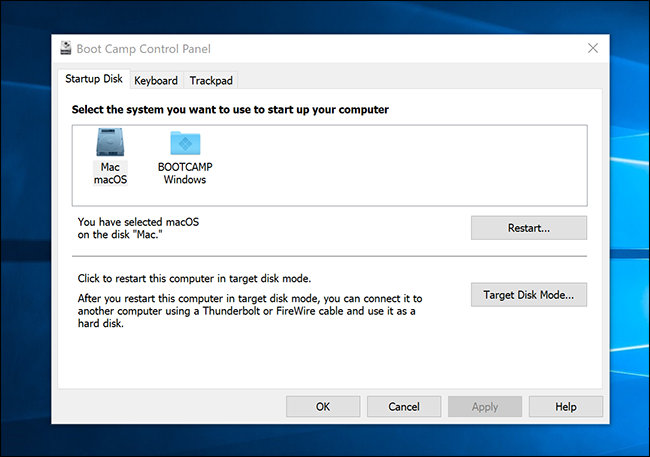
For making Windows boot by default, set it in the recovery mode, or you can use Windows Boot Camp Control Panel. It will be in the system tray once you install Windows, click on the Up arrow and you will find it.
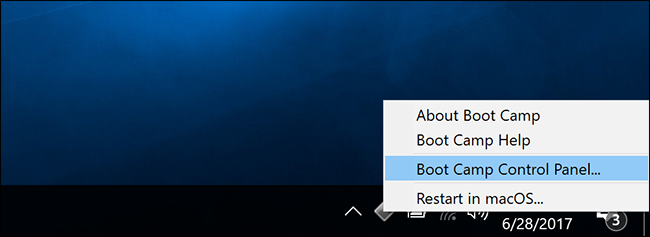
Now with this control panel you can choose the operating system that you want to be default once the Mac boots, on the other hand you can tweak the keyboard as well as its trackpad settings.
Remember in Windows you will see that Mac’s Command key will work as its Windows key, and Option key will work as Alt key. With a Touch Bar its very easy to view all buttons, same as macOS has its Extended Control Strip.
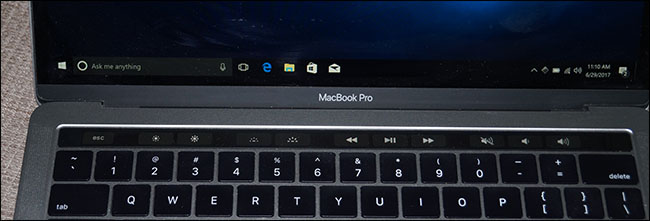
For function keys (such as F1, F2.) you will have to hold down its Fn key.
Remove Windows From the Mac
When thinking of removing the Widows completely from the Mac you will have to free up some space first. After that reboot your system into macOS for opening Boot Camp Assistant once again. There will be an option of Restore Disk to a Single Volume.
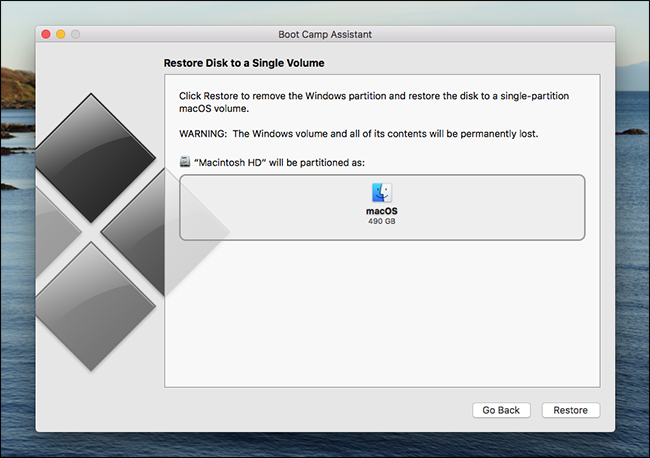
Windows will be removed by Boot Camp Assistant automatically and it will also expand the partition of macOS for you, by reclaiming full space.
Warning: By doing this all files on the Windows partition will get deleted, so make sure you have the backup!
Learn more: Quick 10 Ways for Speeding Up your Slow Mac
Learn more: 8 System Features of Mac You Can Access in a Recovery Mode