Simple Ways to Take Screenshots on Mac
It is very easy to take screenshots on a Mac. You just have to press the keyboard shortcuts to get your desired screenshots. But do you know the Mac OS X also carries some very powerful screenshots tools? We will describe here the various ways in which you can get screenshots on OS X.
How to Capture a Screenshot of the Entire Screen
A single action will help you take the screenshot of the entire computer screen. Mac has a simple keyboard shortcut for this very purpose. Just press Command+Shift+3 simultaneously. The Mac’s desktop will flash followed by the sound of the camera and you get your screenshot on your desktop as a .png file.
How to Take a Screenshot of a Particular Part of the Screen
The command that you will have to give to take a screenshot of a part of your screen is the same as that for taking a screenshot of a window. Press Command+Shift+4. This will result in your mouse cursor becoming a crosshair. Click the icon and drag it to the part of the screen you want to a take a screenshot of. Select the part by releasing the mouse button. The selected part of the screen will be saved as a .png file on your desktop. You can also cancel the screenshot if need be. Just press the Esc key.
How to Take a Screenshot of a Window
If you want to take the screenshot of a specific window press Command+Shift+4. This will turn your mouse cursor into a crosshair icon. Now press the Spacebar. This step changes your mouse cursor into a camera icon. Place the cursor on the relevant window. When you move the cursor on the window it will be highlighted. Just click the window and you will get a screenshot of that window on your desktop as a .png file.
Now that you have taken the various screenshots that you needed the next move is to save them at a proper place.
Saving the Screenshot on the Clipboard Instead of a File
You would undoubtedly want to save the screenshot on your clipboard instead of on a file if you want to paste it into an application. It is actually quite simple. Just add Control keys to the shortcuts given above.
Press Command+Shift+Control+4 instead of Command+Shift+4 and instead of Command+Shift+3 press Command+Shift+Control+3.
Thereafter you have two options to paste the screenshot into an application. Either you click Edit > Paste in the application or press Command+V and the screenshot would be pasted.
Changing the Folder Where Screenshots are Saved on Your Mac
By default, the screenshot taken by the use of keyboard shortcuts are saved on a Mac desktop and the default filename is “Screen Shot [date] at [time].png.” But you have the option of changing the destination of such screenshots while being saved. The changed location can be any drive or Microsoft OneDrive folder, Google Drive, Dropbox etc.
Using Grab Application to Take Timed Screenshot
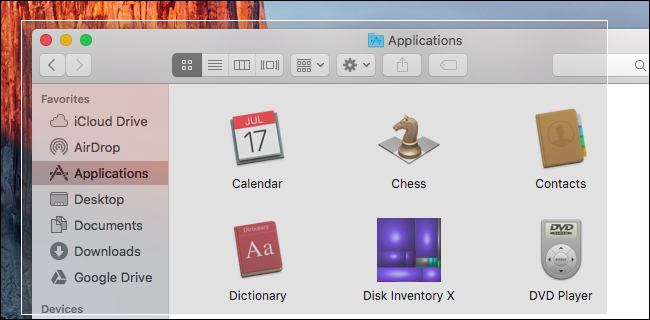
Do you know you can even take a delayed screenshot using a timer? The Grab application that is pre-installed in your Mac will do the trick. To open the application you can either open the Finder and find it at Applications > Utilities > Grab or alternatively press Command+Space. This will open the spotlight search whereby you need to type “Grab” and press “Enter.”
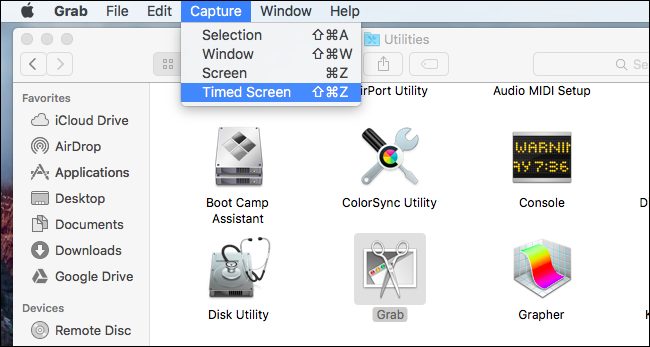
After this, launch or click Grab on your doc and you will find a Grab menu on the top of the screen/ To take a timed shot Click Capture > Timed Screen.
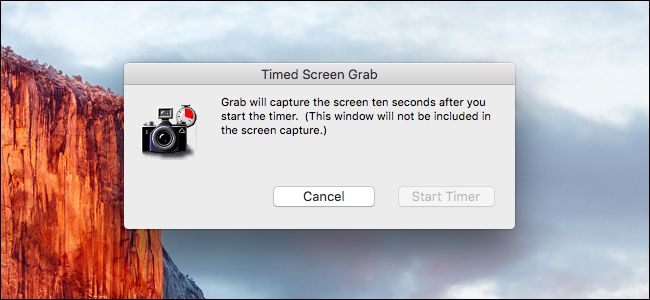
As soon as you click the Start Timer” the countdown will start in the Timed Screen Grab window.
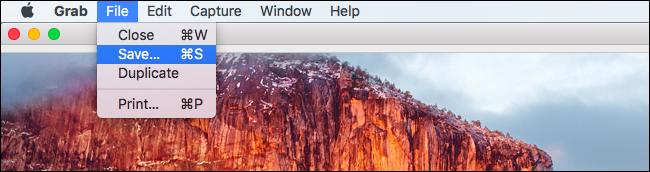
Subsequently, the screenshot will appear in the Grab window as your Mac will take a screenshot after 10 seconds have elapsed. If you want the screenshot to be saved Click File > Save.
This is not the only method of taking screenshots using the Grab application. You can also take other types of screenshots with the Capture > Selection, Capture > Window, and Capture > Screen options. But, probably taking screenshots using the keyboard shortcuts described above is the easiest method.
Remember that this use of the Gab application is highly helpful when you are unable to take the screenshots of items/displays that hide on the shortcut keys being pressed.
On starting the timer your Mac automatically takes the screenshot of the entire screen once the timer expires.
Third-Party Applications for Taking Screenshots
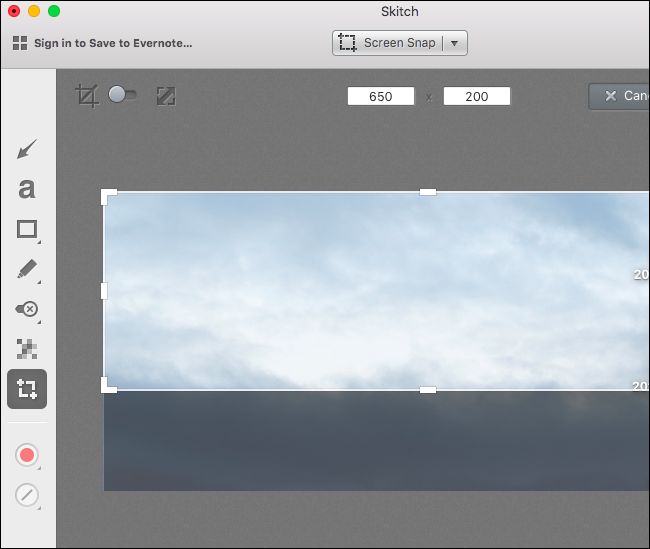
You will be spoilt for choices if you search for third-party apps which are packed with a lot of features that can be used in a Mac to take screenshots. Monosap, Lightshot, Clarify, Captur etc are some of these apps. Here we will describe the Skitch app for you.
The Skitch app was previously available for various platforms but ever since Evernote purchased Skitch it is available only for Mac and no other platform, probably because of its popularity with the users. The completely free app is easy to use and can be used for cropping, resizing, and marking up screenshots. The best thing is one can use it even without signing in with an Evernote account.
After you have taken the screenshots they can be opened and viewed in the preview app that comes with the Mac OS X if you have not selected another image programme as your default application for PNG files. To open and view the screenshots double-click the .png files to open and view them in the Preview app. The Preview facility also has a number of other tools that can be used to edit not only the screenshots but other images also.
You can record your Mac’s screenshot instead of taking a screenshot, by using the QuickTime application that is preloaded with Mac OS X.